April 11, 2023
How to build a swipe file with Notion
You can make Notion as simple or as sophisticated as you'd like. I opt for simplicity.
First, create a table and name it something like “Swipe File”
This table can be embedded on an existing page or a brand new page as long as you know where to find it.
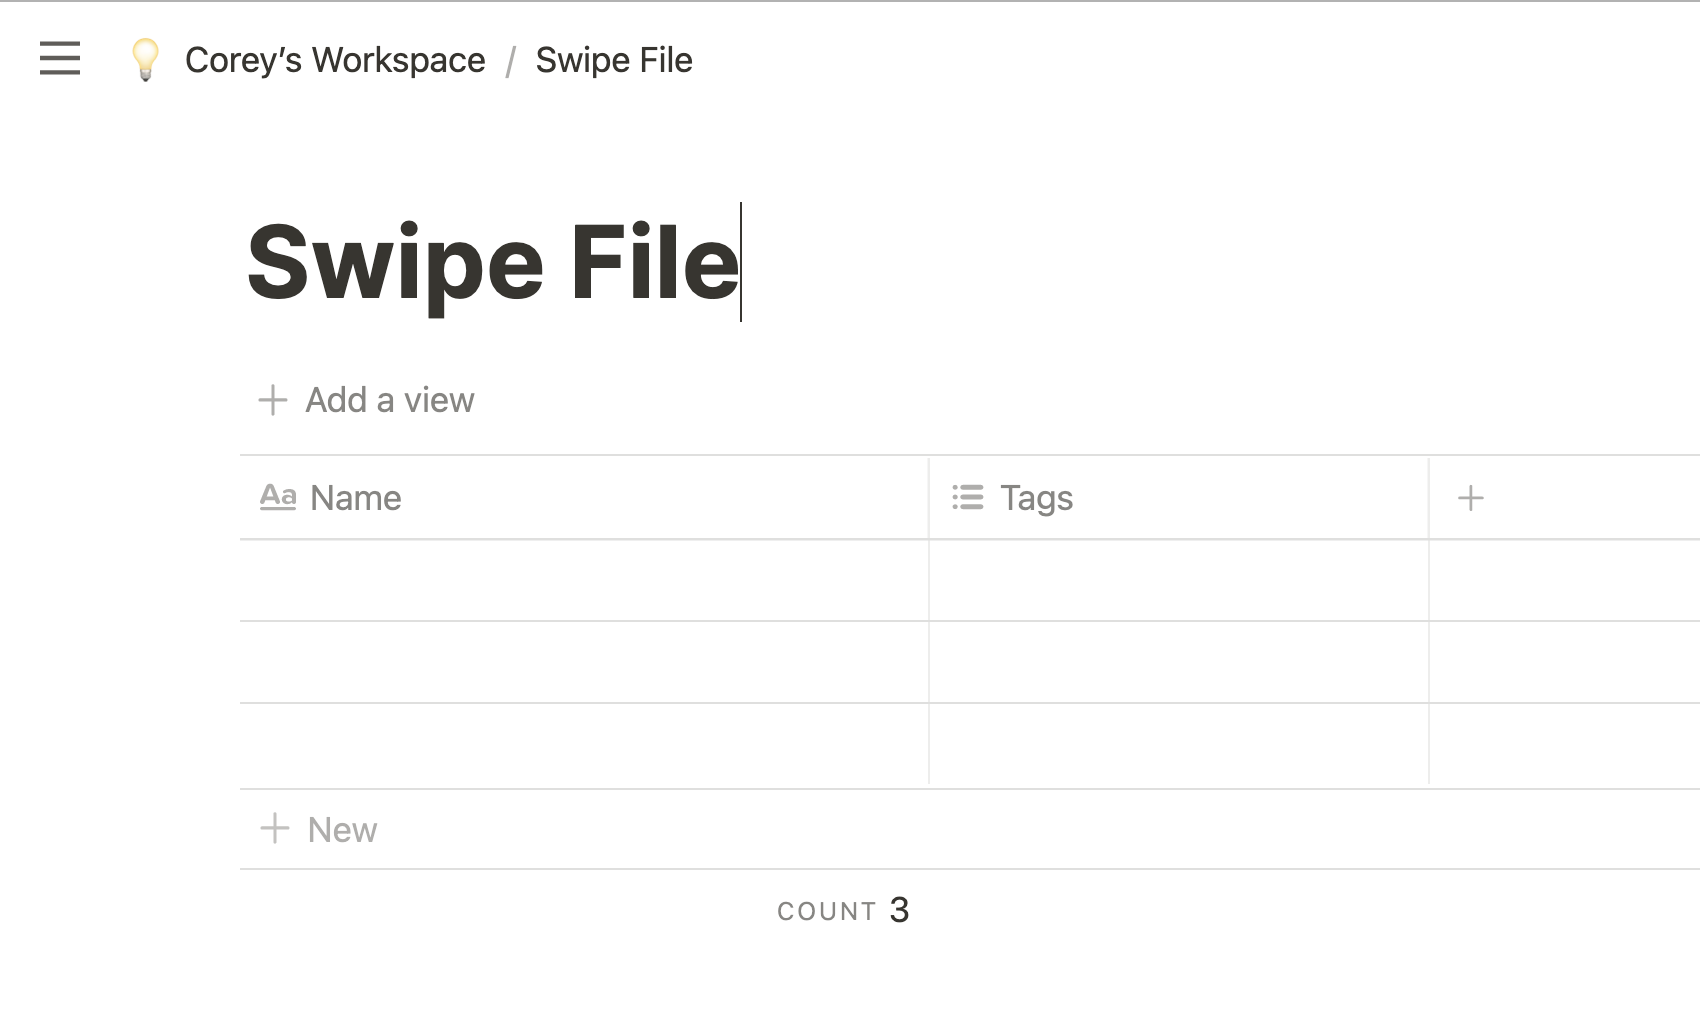
It’s helpful to favorite the page for easy access on the sidebar.
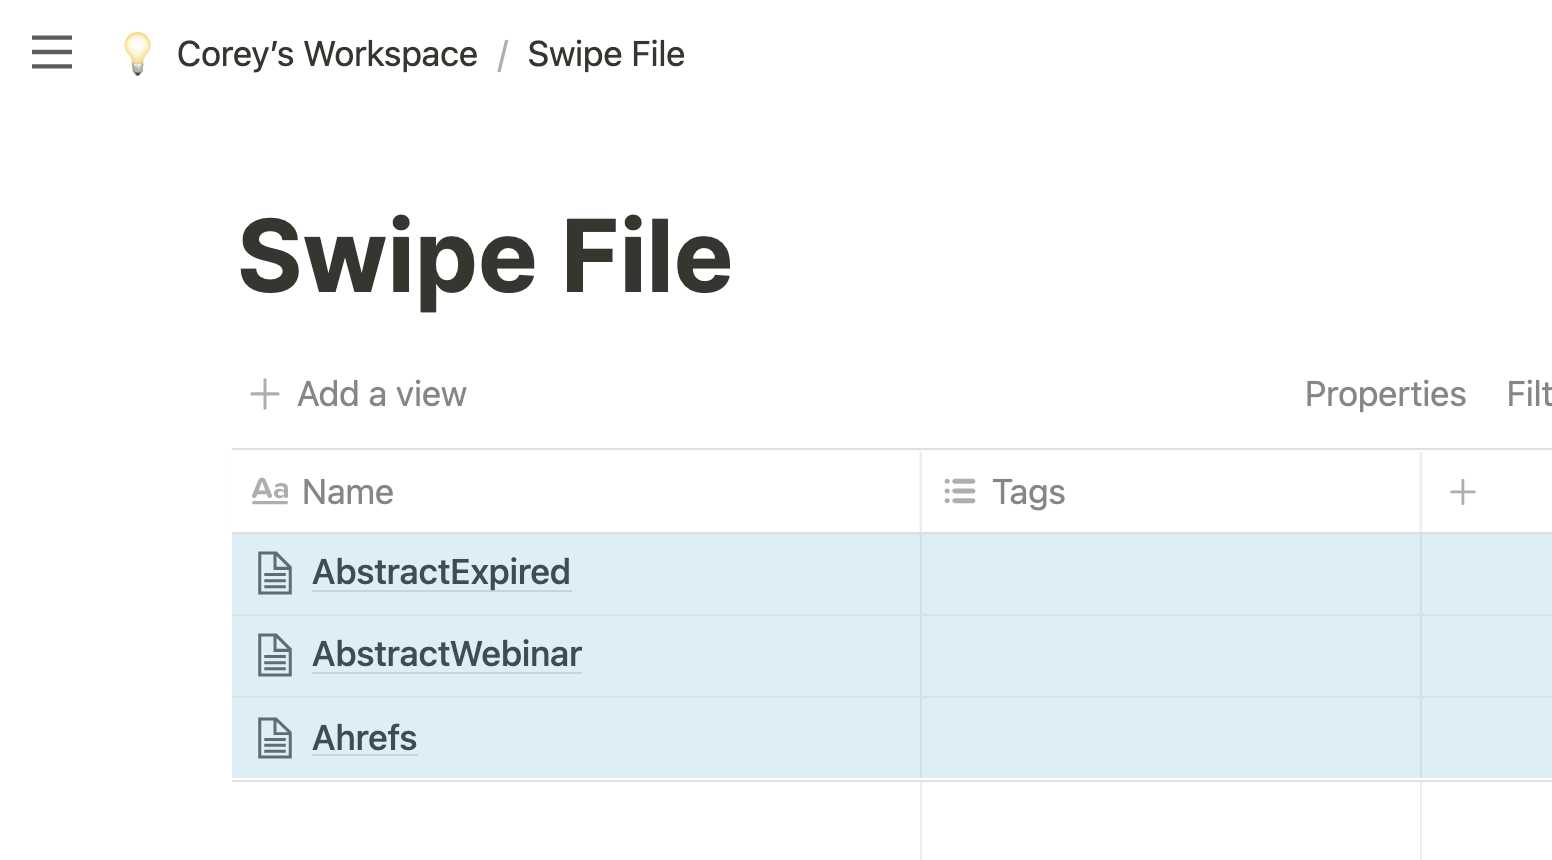
Drag in or upload the media assets you want to add
If you already have screenshots or media assets saved to your desktop, dragging them over will be much quicker than uploading one by one.
But you can always add assets one by one manually.
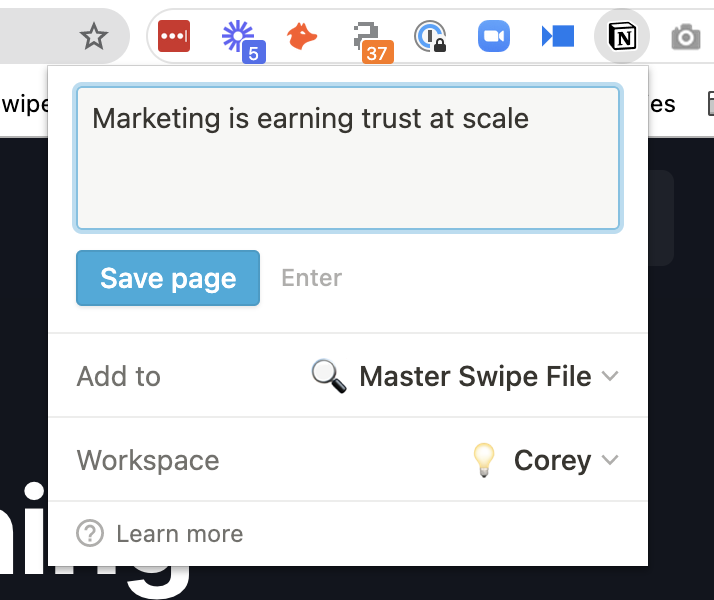
Install the Web Clipper browser extension
This will allow you to add links, text, and pages you want to save.
Add the web clipper to your Chrome, Safari, or Firefox.
Create a new column for tags
Now, you don’t need or even want a lot of columns. My suggestion is to only add one additional column for tags.
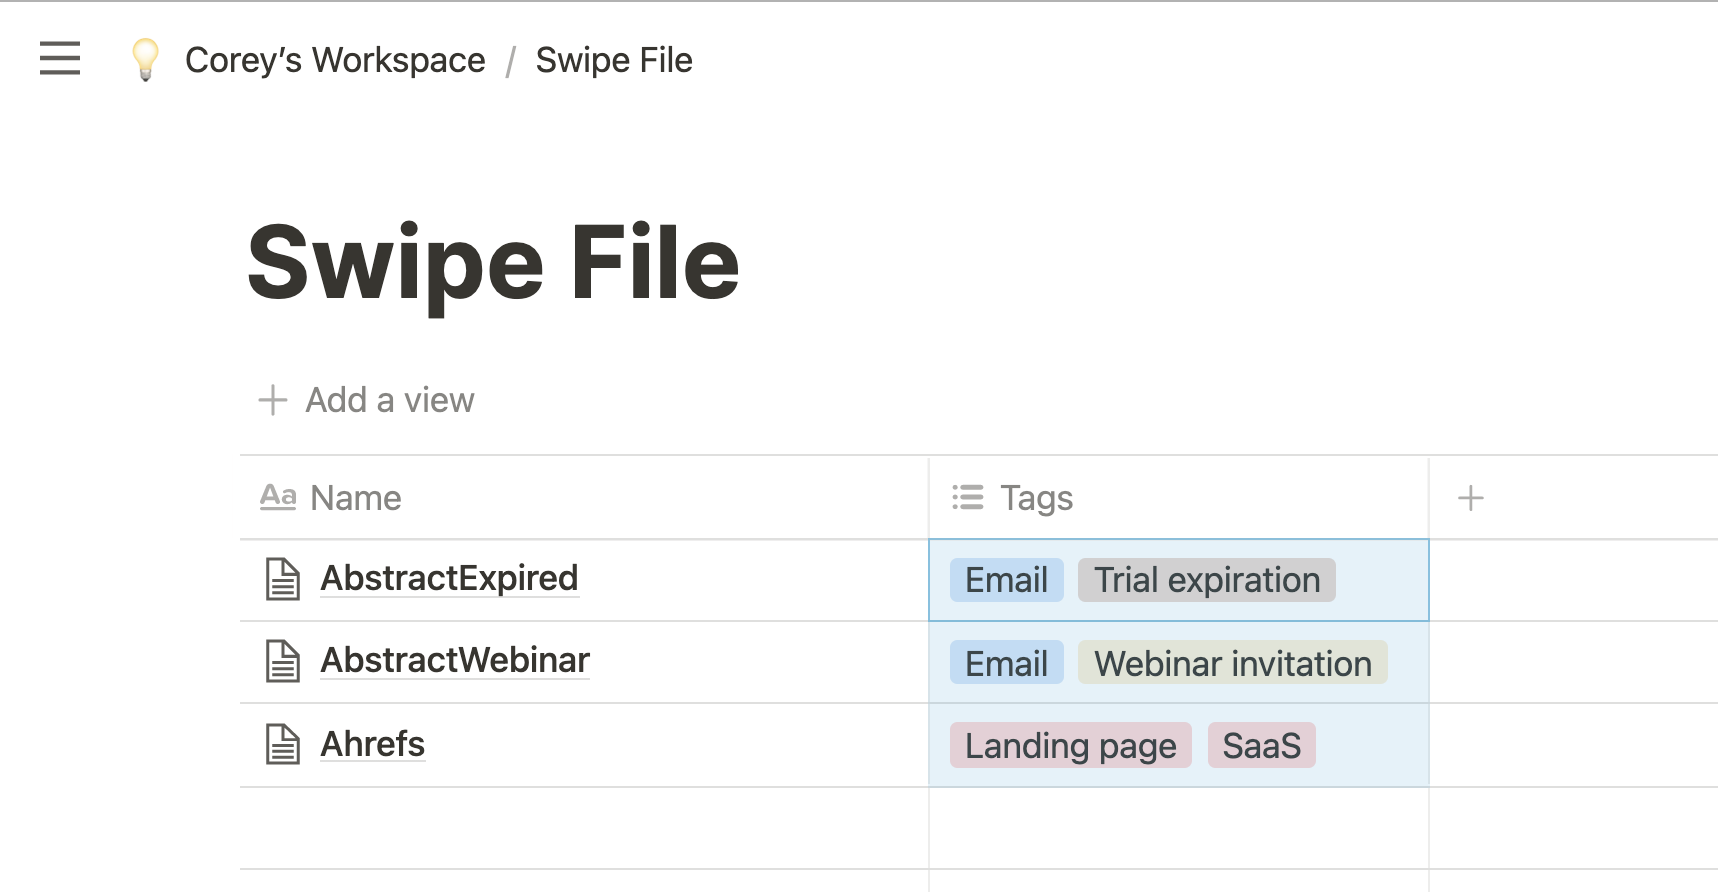
Here, you can go crazy and add all the tags you want for each item you swipe. Too many filtering mechanisms and you end up not wanting to do any filtering.
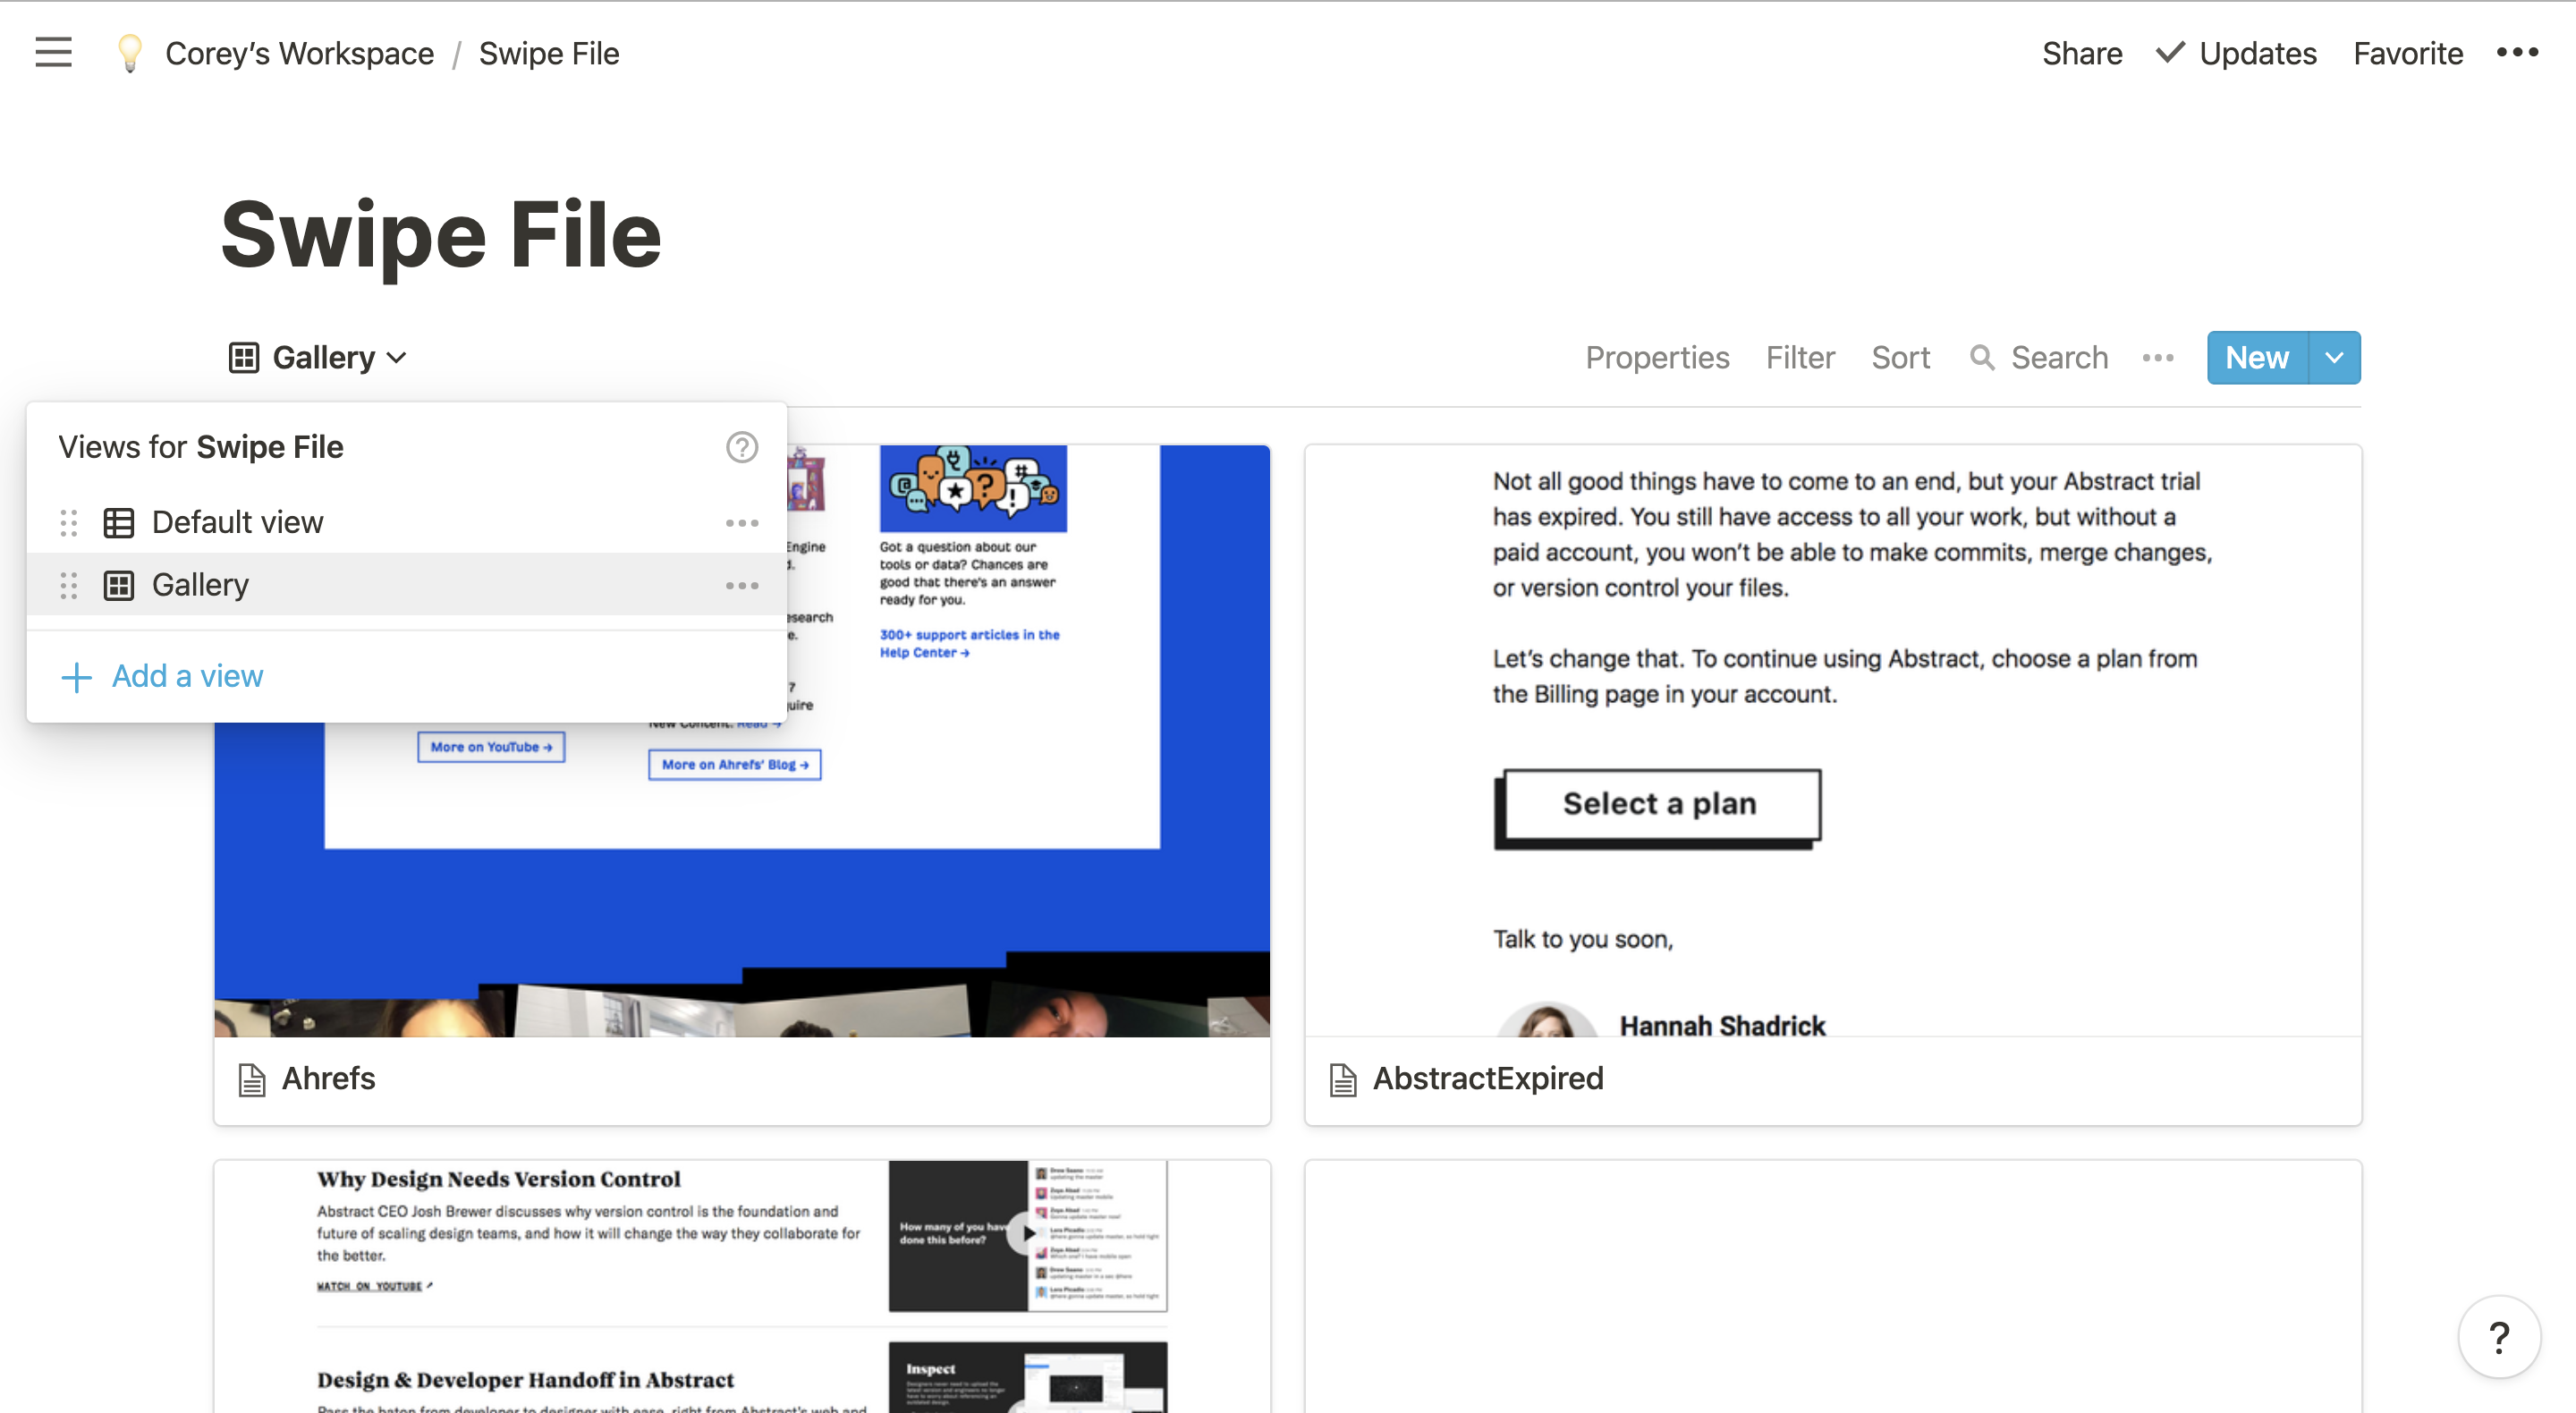
Create a new view to easily scan
You can also create a “Gallery” view that makes each item a card for more visual reference.
Install the mobile apps
Notion also has a mobile app that allows you to quickly save items just like with the chrome extension.
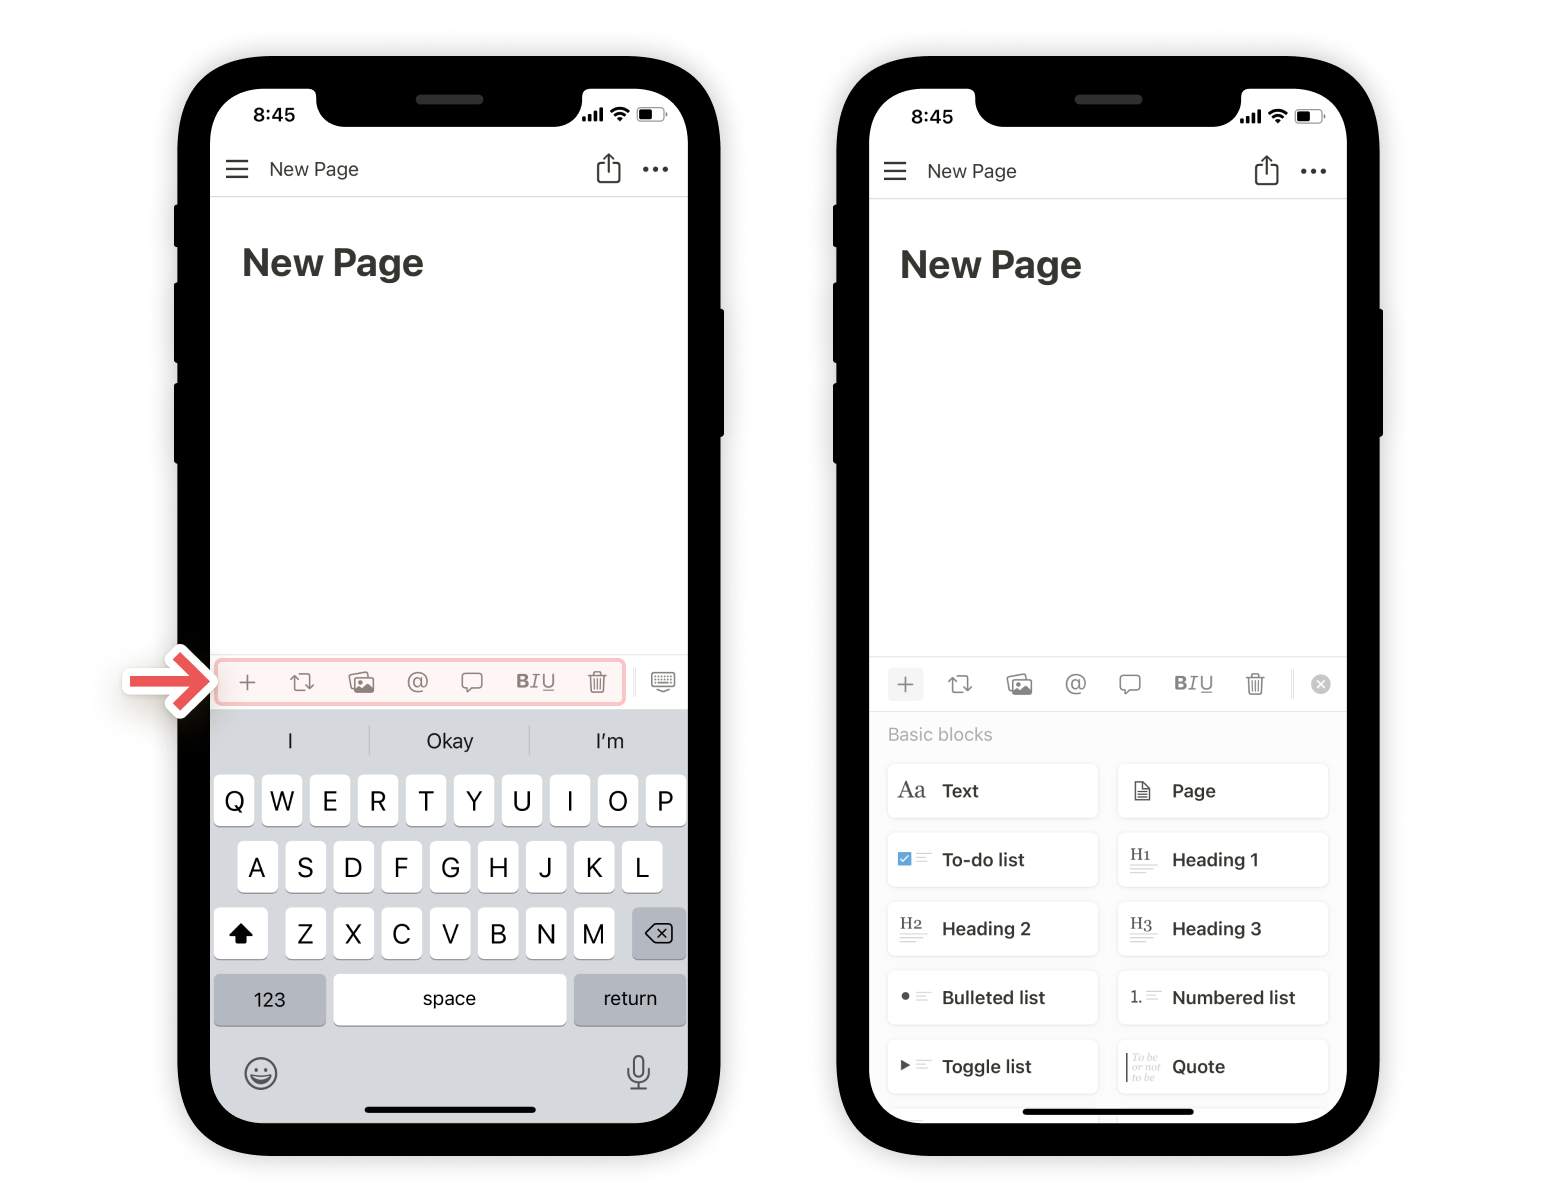
The plus sign makes it easy to add images or links you want to save to your swipe file database.
Conclusion
Note: This is a process guide, not a step-by-step checklist. We’ve outlined all the steps for you so you can create your own swipe file and get started, but you should feel free to adjust these steps as needed!